
Pour a generous amount of your chosen grape beverage into the heated skillet once the meat has been seared and removed. This step not only lifts the flavorful bits stuck to the surface but also transforms them into a rich sauce. Aim for about half a cup, adjusting based on your desired intensity.
As the liquid hits the hot surface, it will sizzle and steam, releasing aromatic compounds that invigorate the kitchen. Use a wooden spoon to scrape the bottom, ensuring every morsel is incorporated. Let this mixture simmer for a few minutes, allowing the alcohol to evaporate and the flavors to meld into a harmonious blend.

For a more complex profile, consider adding aromatics like shallots or garlic after the initial sear. Incorporate them before introducing the grape infusion, allowing them to soften and release their essence. Once the sauce thickens to your liking, finish with a pat of butter for a silky texture and glossy finish.
Deglazing Technique Using Red Liquid
Pour a generous splash of your chosen crimson beverage into the heated cookware immediately after removing the meat or vegetables. The liquid should sizzle upon contact. This step is crucial for dissolving the flavorful bits stuck to the surface.
Scraping the Surface
Use a wooden spoon or a spatula to gently scrape the bottom of the cookware. The goal is to lift those browned morsels, which are packed with flavor, into the liquid. Ensure you reach all corners to capture every bit of goodness.
Reducing the Mixture
Allow the mixture to simmer, promoting evaporation and concentrating the flavors. You’ll want to reduce it by about half for optimal taste. Keep an eye on the consistency; it should thicken slightly while maintaining a sauce-like quality.
Finish by adjusting seasoning to your preference, and consider adding a pat of butter for a rich, glossy finish. This technique elevates any dish, transforming leftover bits into a delectable sauce.
Selecting the Right Red Wine for Deglazing
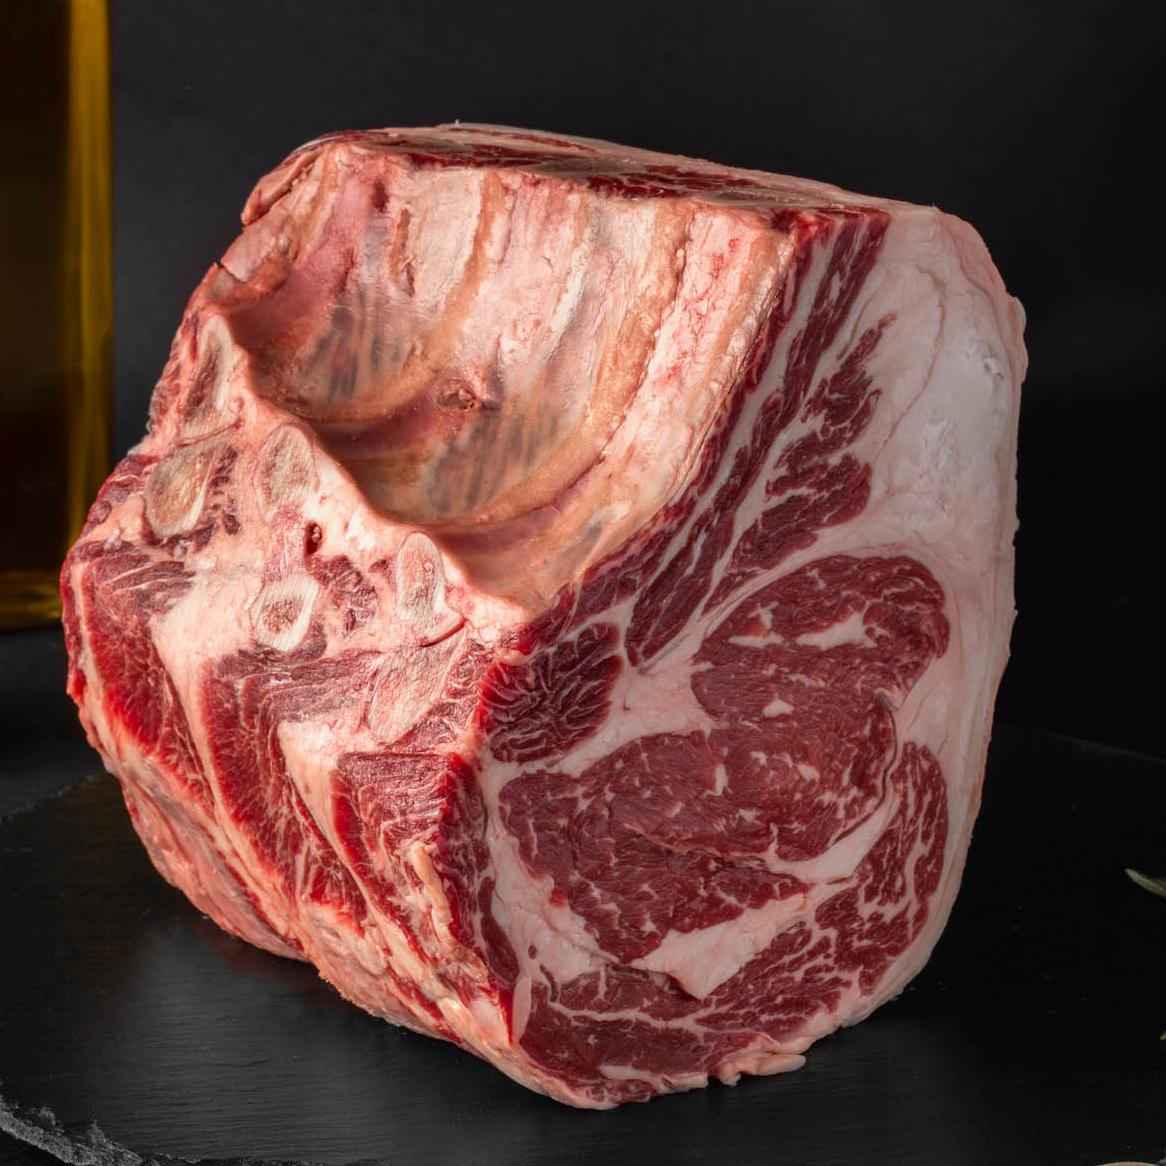
Choose a varietal that complements the dish’s flavors. For robust meats like beef or lamb, full-bodied options such as Cabernet Sauvignon or Malbec enhance richness. If working with poultry or pork, consider lighter varieties like Pinot Noir or Merlot, which offer a fruitier profile.
Quality Over Price
Select a bottle that you would enjoy drinking. A decent quality wine elevates the dish, while a lower quality option may introduce undesirable flavors. Aim for something in the $10 to $20 range; this typically provides a good balance of quality and affordability.
Consider the Cooking Process
Take into account the cooking time and intensity of heat. A wine with higher acidity can cut through fatty dishes, while a smoother, fruit-forward option can work well for faster cooking methods. Avoid overly sweet wines unless the recipe specifically calls for it, as they can alter the intended flavor profile.
Finally, don’t hesitate to experiment. Each bottle offers unique characteristics that can enhance your culinary creations. Trust your palate and enjoy the process!
Preparing the Cookware After Cooking
After completing the cooking process, it’s essential to address the remaining particles and flavors. I recommend letting the cookware cool slightly before cleaning. This helps to prevent warping or damage to the surface.
Cleaning Steps
1. Pour a small amount of hot water into the cookware to help loosen any stuck bits.
2. Use a wooden or silicone spatula to gently scrape the surface, ensuring not to scratch it.
3. Add a few drops of dish soap to the warm water and let it soak for about 10-15 minutes.
4. After soaking, use a non-abrasive sponge to wipe down the interior, removing any residues.
5. Rinse thoroughly with warm water and dry with a clean towel to prevent water spots.
Storage Tips
For optimal preservation, store the cookware in a dry place. If possible, place a paper towel between stacked items to avoid scratches. Regular maintenance enhances durability and ensures it remains in excellent condition for future culinary endeavors.
| Cleaning Method | Recommended Tool |
|---|---|
| Scraping | Wooden or silicone spatula |
| Soaking | Warm soapy water |
| Wiping | Non-abrasive sponge |
| Drying | Clean towel |
Choosing the Right Utensils for Deglazing
For optimal results when lifting flavorful bits from the surface, I recommend using a wooden spoon or a silicone spatula. These tools prevent scratching and damage to your cookware.
- Wooden Spoon: This classic choice is sturdy and gentle on surfaces. It allows for effective scraping while adding a rustic touch.
- Silicone Spatula: Heat-resistant and flexible, this utensil is perfect for reaching corners and ensuring no morsel is left behind. Choose one that can withstand high temperatures.
- Metal Spoon: Although effective for scraping, use with caution on non-stick surfaces to avoid scratches. Best suited for stainless steel cookware.
Consider the size of your cooking vessel. A larger spoon or spatula may be needed for wider cookware, while a smaller utensil is ideal for tighter spaces.
Always ensure your utensils are clean and dry before use. Any moisture can dilute the flavors you aim to enhance.
In summary, select a utensil that complements your cookware type and facilitates easy scraping, maximizing flavor extraction from the cooking surface.
Adding Red Wine at the Correct Temperature
For optimal results, introduce the liquid at a temperature between 160°F to 190°F (70°C to 88°C). This range ensures proper evaporation of alcohol while allowing the flavors to meld effectively with the cooked bits.
Steps for Perfect Temperature Control
- Heat the cooking surface over medium heat until the residuals start to sizzle gently.
- Use a food thermometer to check the temperature of the cooking surface before adding the liquid.
- If using a bottle from the refrigerator, let it sit at room temperature for about 30 minutes prior to use.
Tips for Monitoring Temperature
- Keep an eye on the cooking surface; if it begins to smoke, it’s too hot.
- Consider using a small amount of liquid first to gauge the pan’s temperature before adding the full amount.
- Stir continuously after adding the liquid to help regulate the temperature and incorporate the flavors evenly.
Maintaining the correct temperature enhances the overall flavor profile, ensuring a rich and satisfying result in your dish. Adjustments may be necessary based on the specific cooking method and ingredients used.
Scraping Up Brown Bits: Techniques and Tips
For optimal flavor extraction, I always employ a sturdy wooden spoon or a silicone spatula to effectively lift the flavorful crust from the bottom of the cookware. These utensils are gentle on the surface and prevent scratching, ensuring longevity.
When I begin, I let the residual heat work for me. If the cooking vessel is still hot, I add the liquid immediately after removing the meat or vegetables. This helps to release those tasty bits more efficiently. If the base is too dry, I sometimes add a splash of broth or water first to loosen it up before introducing the wine.
As I pour in the liquid, I make sure to maintain a gentle simmer. A rolling boil can evaporate the flavor too quickly. Instead, I use a steady but slow heat to dissolve those morsels, stirring consistently to ensure even incorporation.
Scraping technique matters too. I always angle the spoon at about 45 degrees, making sure to scrape the surface thoroughly without missing any spots. A firm but controlled motion helps dislodge even the most stubborn bits.
To enhance the flavor profile, I sometimes add aromatics like garlic or shallots right after scraping. This infusion can elevate the sauce significantly. Once the bits are incorporated into the sauce, I let it reduce slightly to concentrate the flavors before serving.
Finally, I often taste the mixture throughout the process, adjusting seasoning as needed. This step is crucial for achieving a balanced and rich sauce, making the final dish truly memorable.