Begin with a base of quality stock, ideally homemade, to create a rich foundation. Sauté finely chopped shallots in a mixture of butter and olive oil until they soften and develop a golden color, enhancing their natural sweetness.
Incorporate a generous splash of your favorite robust beverage, allowing it to reduce by half. This step intensifies the flavors and adds depth to the sauce. Don’t rush this process; patience is key to achieving a well-rounded taste.
Once the liquid reduces, add the prepared stock gradually, stirring consistently. Allow it to simmer, thickening slightly while the flavors meld together. To finish, strain the mixture through a fine sieve for a velvety texture, and season with salt and freshly cracked black pepper to taste. A touch of fresh herbs, such as thyme or rosemary, can elevate the profile, complementing the meat beautifully.
Selecting the Right Red Wine
I recommend choosing a full-bodied variety, such as Cabernet Sauvignon or Syrah, to complement the richness of the meat. These options provide bold flavors that enhance the overall depth of the sauce. Avoid overly fruity wines, as they may clash with the savory notes.
Look for bottles with good acidity; this will help balance the dish and add brightness. A wine with a hint of oak aging can introduce additional complexity, making the sauce more layered and interesting.
Consider the region; wines from Bordeaux or regions known for robust reds are typically excellent choices. Pay attention to vintage as well; a well-aged bottle can provide a depth of flavor that younger wines may lack.
Lastly, don’t hesitate to select a wine that you enjoy drinking. The flavors you appreciate in the glass will translate into the sauce, elevating the final dish significantly.
Gathering Necessary Ingredients and Tools
Begin with the following components:
- High-quality stock or broth (preferably homemade for depth of flavor)
- Fresh herbs such as thyme and rosemary for aromatic notes
- Shallots or onions for sweetness and complexity
- Unsalted butter to enrich the sauce
- A robust varietal to complement the dish, as discussed earlier
- Optional: a splash of balsamic vinegar for acidity
Next, gather the appropriate utensils:
- Heavy-bottomed saucepan for even cooking
- Wooden spoon or silicone spatula for stirring
- Measuring cups for accuracy
- Fine mesh strainer to achieve a smooth texture
- Whisk for emulsifying ingredients
Having these items ready will streamline the cooking process and enhance the outcome of the sauce.
Preparing the Lamb and Its Juices
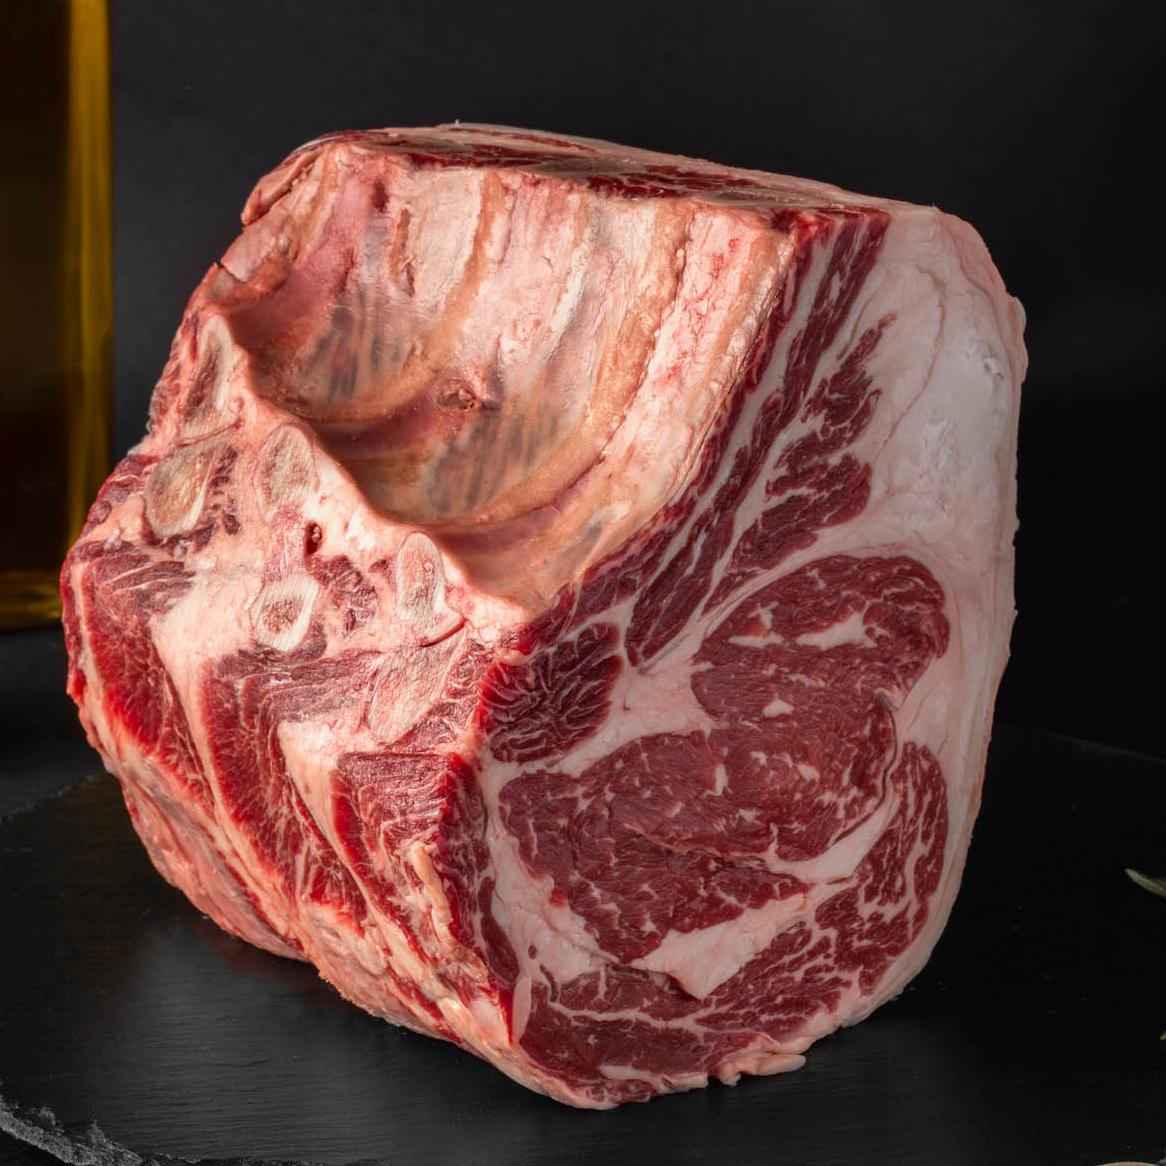
Begin by selecting a quality cut of meat, such as leg or shoulder, ensuring it has a good amount of fat for flavor. Season generously with salt and pepper, allowing it to sit at room temperature for about 30 minutes before cooking. This helps to achieve an even cook and enhances the overall taste.
Cooking Technique
Preheat the oven to 350°F (175°C). Sear the meat in a hot pan with a little oil until a golden crust forms on all sides. This step locks in juices and adds depth to the dish. Transfer the browned meat to a roasting pan, adding aromatics like garlic, rosemary, and thyme for additional flavor.
Collecting the Juices
After roasting, allow the meat to rest for at least 15 minutes to let the juices redistribute. While resting, use a baster or spoon to collect the drippings from the pan. These drippings are packed with flavor and are the foundation for the sauce.
| Step | Details |
|---|---|
| 1 | Select a well-marbled cut of meat. |
| 2 | Season and let it rest at room temperature. |
| 3 | Sear the meat until browned on all sides. |
| 4 | Roast with aromatics at 350°F (175°C). |
| 5 | Rest the meat and collect the drippings. |
These drippings will provide a rich base for the sauce, enhancing the overall dish’s complexity and flavor profile. Use them wisely in your preparation for a delightful accompaniment.
Deglazing the Pan After Cooking
After searing the meat, I always deglaze the pan to capture the rich flavors stuck to the bottom. I add about a cup of liquid–usually stock or a favorite spirit–over medium heat. This process loosens the flavorful bits, known as fond, that enhance my sauce.
Using a wooden spoon, I scrape the bottom of the pan, ensuring all those delicious remnants are incorporated. The liquid should bubble and reduce slightly, concentrating the flavors. I let it simmer for a few minutes until it thickens, creating a base for my sauce.
Choosing the Right Liquid
For deglazing, using a flavorful stock complements the dish well. Alternatively, a splash of vinegar or citrus juice can add brightness. The choice of liquid can significantly impact the final taste, so I consider what pairs best with the meat.
Finishing the Sauce
Once the pan is deglazed and the liquid has reduced, I incorporate additional ingredients like herbs or a pat of butter for richness. This step elevates the sauce, making it a perfect accompaniment to the dish. The final product should be glossy and full of depth, ready to enhance the meal.
Additions to Enhance Flavor Profile
Incorporating fresh herbs can elevate the depth of flavors. Thyme and rosemary are excellent choices; I often add a handful during the reduction process to infuse their aromatic qualities. Bay leaves also contribute a subtle earthiness that complements meaty dishes.
Sweet Elements
A touch of sweetness balances acidity and enhances richness. I like to include a small amount of honey or brown sugar. These ingredients add complexity without overwhelming the palate. Red currant jelly or a splash of balsamic vinegar can also achieve a similar effect, providing both sweetness and a hint of tang.
Umami Boosters
To deepen the flavor, I recommend using umami-rich ingredients. A spoonful of tomato paste or Worcestershire sauce can significantly enhance the overall profile. For an additional layer, consider incorporating a splash of soy sauce or miso paste, which adds a savory depth that pairs beautifully with hearty dishes.
Reducing the Sauce to Achieve Desired Consistency
Begin by simmering the liquid on medium heat, allowing it to gently bubble. This prevents scorching while promoting an even reduction. Stir occasionally to ensure even thickening and prevent sticking.
Monitor the volume closely; aim to reduce by approximately half for a rich, concentrated flavor. Use a ladle to check the thickness periodically. The ideal consistency should coat the back of a spoon, forming a light film.
If the mixture becomes too thick, a splash of broth or water can be added to adjust the texture without sacrificing flavor. Conversely, if it remains too thin, continue to simmer until the desired thickness is reached.
Incorporate a final taste adjustment towards the end of reduction. This is the moment to enhance with seasoning or a touch of acidity, such as a squeeze of lemon or a dash of vinegar, to brighten the profile and balance the richness.
Strain the finished sauce through a fine mesh sieve for a silky texture, discarding any solids. This step ensures a refined finish, perfect for drizzling over your main dish.