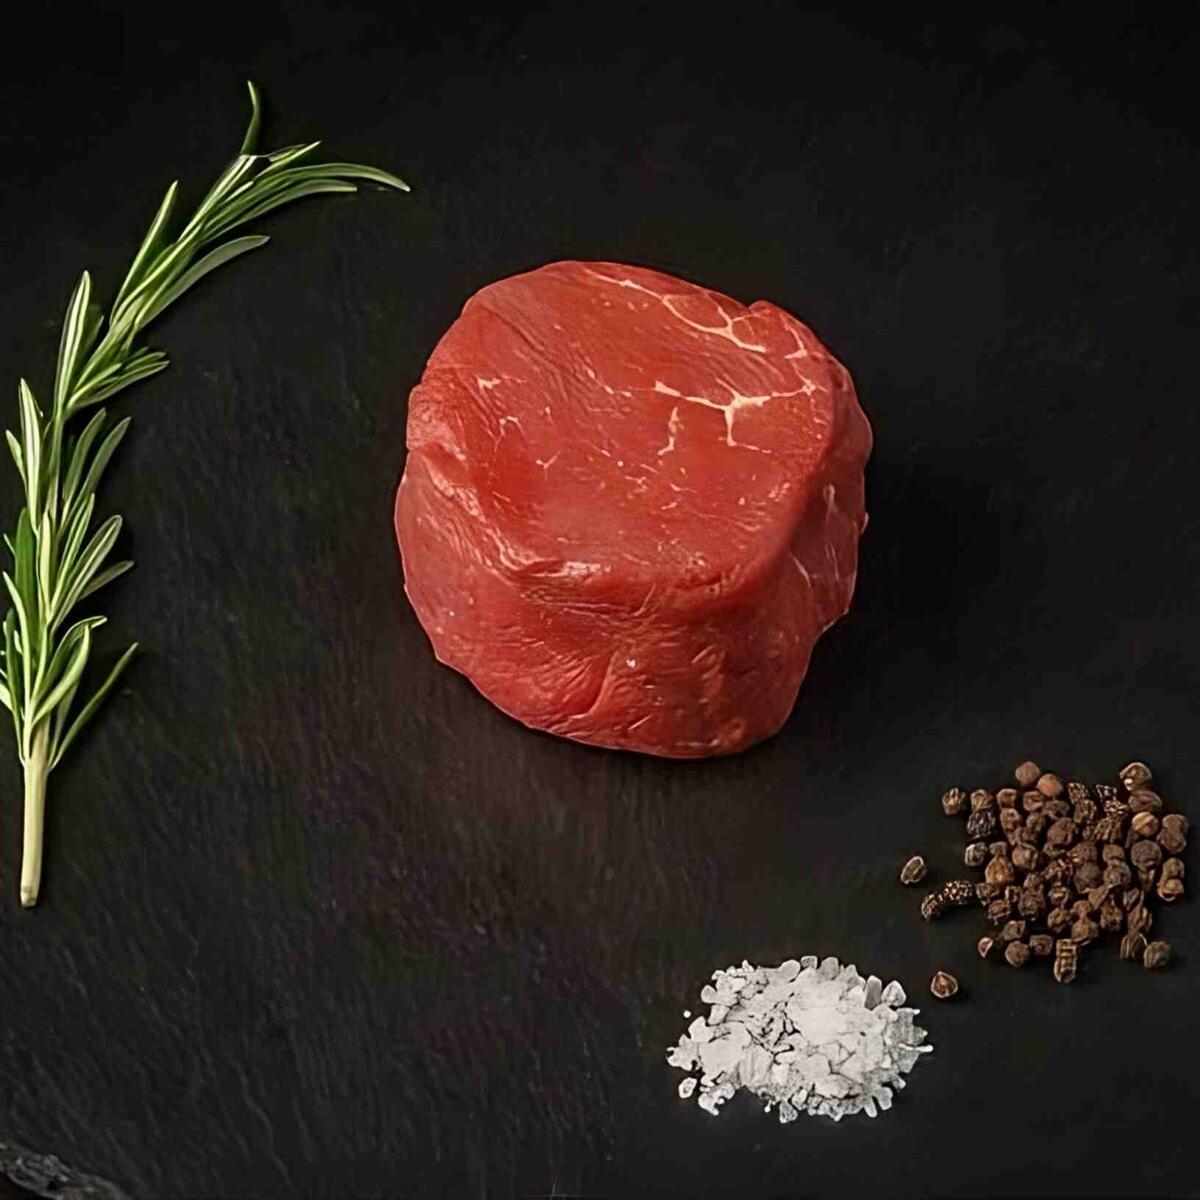


Begin with selecting high-quality grapes. Varieties such as Sangiovese or Barbera are excellent choices due to their rich flavors and acidity. Aim for fully ripe fruit, as this will greatly influence the final taste profile.
After harvesting, crush the grapes to release their juice. This process can be done manually or with a simple fruit crusher. Ensure to keep the stems and skins, as they contribute essential tannins and color to the final product.
Next, transfer the crushed grapes into a sanitized fermentation vessel. Introduce natural or cultured yeast to initiate fermentation. Monitor the temperature closely; it should ideally remain between 70-80°F (21-27°C) for optimal results. This phase typically lasts from one to two weeks, during which you’ll notice bubbling and frothing as the sugars convert to alcohol.

Once fermentation is complete, press the mixture to separate the liquid from the solids. This liquid, known as must, is your base. Transfer it into clean bottles, leaving some space for expansion. Seal the bottles with airlocks or corks to prevent contamination while allowing gases to escape during the aging process.
Store the bottles in a cool, dark place for several months, tasting periodically to track its development. Patience is key, as the flavors will evolve and mature over time, leading to a more complex and satisfying drink.
Crafting a Distinctive Italian Vintage
Utilize high-quality grapes, such as Sangiovese or Montepulciano, to ensure a robust flavor profile. Harvest them when fully ripe, typically in late summer or early fall. Aim for a sugar level around 22-25 brix for optimal fermentation.
Essential Equipment
Gather the following tools:
- Fermentation vessel (glass carboy or food-grade plastic bucket)
- Hydrometer for measuring sugar content
- Airlock to prevent contamination
- Wine press or manual crushing method
- Siphoning tube for transferring liquid
- Bottles and corks for storage
Fermentation Process
Once the grapes are crushed, transfer the juice to the fermentation vessel. Add yeast, aiming for a suitable strain that complements the grape variety. Monitor the temperature; it should remain between 70-75°F (21-24°C). Stir daily for even fermentation.
After about 1-2 weeks, when fermentation slows, siphon the liquid into a clean vessel, leaving sediment behind. Allow it to age for several months, tasting periodically to assess flavor development.
Once satisfied with the taste, prepare for bottling. Ensure all equipment is sanitized to prevent spoilage. Fill the bottles, leaving some space at the top, and cork them securely. Store in a cool, dark place, allowing flavors to mature for at least another six months before enjoyment.
Selecting the Right Grapes for Your Wine
Focus on grape varieties that thrive in your climate. For robust flavors, consider Sangiovese or Barbera. If you’re aiming for a smoother profile, Merlot can be a great choice. Look for grapes with good acidity and tannin structure to ensure balance.
Assessing Quality
Harvest grapes at optimal ripeness. Taste the fruit–sweetness should be balanced with acidity. Avoid overripe or underdeveloped bunches. Seek berries that are firm and free from blemishes or rot.
Local Sourcing
Purchase from local vineyards or farmers’ markets. This supports regional agriculture and ensures freshness. Building relationships with grape growers can provide insights into the best harvest timings and varietal characteristics.
Preparing the Grapes for Fermentation
Thoroughly wash the grapes to remove any dirt or pesticide residues. I prefer to use a gentle spray of water to avoid crushing the fruit. After rinsing, allow them to drain in a colander for a few minutes.
Next, inspect the grapes carefully. Remove any damaged or unripe fruit, as these can negatively affect the final product. I typically set aside a small bowl to collect the discarded grapes during this process.
Crushing the Grapes
Once sorted, it’s time to crush the grapes. I use a clean, food-grade container to crush them by hand or with a grape crusher, ensuring the skins are broken to release the juice. Avoid excessive crushing to prevent bitter flavors from the seeds.
Testing Sugar Levels
Measuring the sugar content is essential. I utilize a refractometer for this task. The ideal sugar level typically ranges between 22-26 Brix for optimal fermentation. If the sugar content is low, I might consider adding grape juice or concentrated sugar solutions to achieve the desired sweetness.
| Action | Details |
|---|---|
| Wash | Use clean water, avoid crushing |
| Inspect | Remove damaged or unripe grapes |
| Crush | Break skins to release juice, avoid seeds |
| Test Sugar | Use a refractometer, adjust if necessary |
After these steps, the grapes are ready for fermentation, ensuring a solid foundation for the brewing process ahead.
Understanding the Fermentation Process
For successful transformation of crushed berries into a delicious beverage, it’s vital to maintain a consistent temperature between 70°F and 85°F (21°C – 29°C). This range optimizes yeast activity while minimizing unwanted bacteria growth.
Active yeast, preferably Saccharomyces cerevisiae, is essential. I add it to the must once it reaches the desired temperature. This yeast converts sugars into alcohol and carbon dioxide, driving the fermentation process. I ensure that the yeast is rehydrated properly before adding it to enhance its effectiveness.
Monitoring Fermentation
Regularly checking the specific gravity with a hydrometer helps track sugar conversion. I aim for a final specific gravity of around 0.990 to 0.995 for dryness. This monitoring allows me to predict the potential alcohol content and assess fermentation progress.
Managing Fermentation Duration
Fermentation typically lasts between 5 to 14 days, depending on the grape variety and environmental conditions. I taste the must periodically to gauge flavor development. Once bubbling slows and sediment forms, I prepare for racking, which separates the liquid from the solids, ensuring clarity in the final product.
Proper Aging Techniques for Your Beverage
Store your creation in a cool, dark environment, ideally between 50-60°F (10-15°C). A consistent temperature is key; fluctuations can spoil the aging process.
Invest in a good quality wine rack or cellar. This helps maintain optimal humidity levels between 50-70%, preventing cork dryness and oxidation.
Choose bottles with cork closures. Cork allows for a small amount of air exchange, essential for proper aging. Ensure your bottles are stored horizontally to keep the cork moist.
- Monitor light exposure. Ultraviolet light can degrade the flavor and color. Use dark glass bottles or store them in a dark area.
- Keep vibrations to a minimum. Excessive movement can disrupt sediment and negatively affect maturation.
- Allow for patience. Many varieties benefit from several years of aging, while others are best consumed young.
Regularly check the cork for any signs of deterioration. A damaged cork can lead to spoilage.
Keep detailed notes on each bottle’s progress. This helps to determine the perfect drinking window and enhances your understanding of aging characteristics.
Decant before serving to enhance the flavors. This process can aerate the beverage, allowing it to express its true potential.