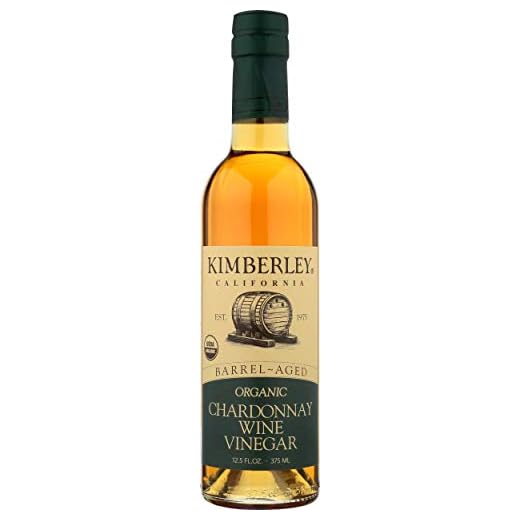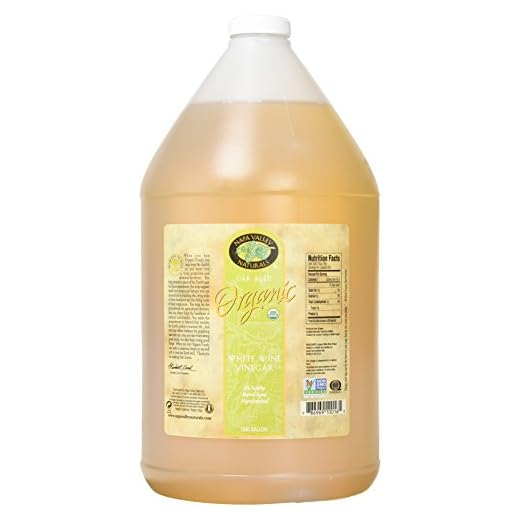


Start with a quality bottle of dry white. The base liquid significantly influences the flavor profile of your final product. Use a wine that you enjoy drinking, as the essence will shine through in the result.
For fermentation, select a clean glass container with a wide opening to allow for air circulation. A jar or a carboy works well. It’s crucial to introduce a mother culture, which can be purchased or sourced from unpasteurized vinegar. This culture contains the necessary bacteria for converting alcohol into acetic acid.
Combine equal parts of wine and water to achieve the desired acidity level. Then, cover the opening with a breathable cloth to prevent contaminants while allowing air to flow. Place the container in a dark, warm spot, ideally around 60-80°F (15-27°C). Stir the mixture occasionally to promote fermentation.
Patience is key; allow this process to unfold over several weeks. Taste periodically to monitor the transformation. Depending on your preference, it may take one to three months for the flavors to develop fully. Once satisfied with the taste, strain it into a clean bottle and seal it for storage.
Selecting the Right White Wine for Vinegar Production
Opt for a dry variety with balanced acidity. Chardonnay, Sauvignon Blanc, and Pinot Grigio are excellent choices, providing robust flavors and sufficient tartness.
- Chardonnay: Look for unoaked options; they offer a bright acidity that translates well into a tangy result.
- Sauvignon Blanc: Its crisp profile and herbal notes create a refreshing condiment, ideal for dressings and marinades.
- Pinot Grigio: Choose a vibrant bottle; its fruit-forward character enhances the overall flavor.
Avoid overly sweet selections. The higher sugar content can lead to a syrupy finish rather than the desired sharpness. Consider the origin; wines from cooler climates often possess higher acidity, which is beneficial.
- Select a bottle labeled as “dry” on the label.
- Check the alcohol content; a range of 11-13% is preferable.
- Inspect the vintage; fresher wines generally yield better results.
Experiment with regional varieties, as they may surprise you. For instance, a local white blend can impart unique characteristics, making the final product distinctive.
Always taste before you commit. The flavor profile of the wine will directly influence the outcome, so choose one that you enjoy drinking. This not only ensures quality but also enhances your experience in the process.
Necessary Equipment for Homemade Vinegar
For successful fermentation, gather a few key items. A glass or ceramic container is ideal; avoid metal as it can react with the acidic environment. A wide-mouth jar allows for better airflow, which is crucial for the process. Ensure it has a breathable cover, like a clean cloth secured with a rubber band, to keep out contaminants while allowing oxygen in.
A fermentation starter, such as unpasteurized vinegar or a vinegar mother, is needed to kick off the transformation. A hydrometer can help measure the alcohol content, ensuring the right conditions for conversion. If you plan to scale up your production, consider investing in a fermentation bottle or airlock system to maintain optimal conditions.
Having a thermometer on hand will assist in monitoring the temperature, which should generally be around 60-80°F for best results. A funnel is useful for transferring liquids without spills. Lastly, a pressure washer for dirt bikes can be repurposed to clean your equipment thoroughly, ensuring nothing interferes with your creation.
Step-by-Step Process of Fermenting White Wine
Select a clean, glass container for fermentation. Ensure it’s large enough to hold the liquid and allow some air circulation. A one-gallon glass jug works well for smaller batches.
Pour the chosen liquid into the jug, filling it to about 75% capacity. This space allows for foam formation during the fermentation process.
Add a vinegar mother or unpasteurized liquid containing live cultures to the jug. This will kickstart the conversion process. If you don’t have a mother, you can use raw vinegar as a substitute.
Seal the container with a breathable cloth or coffee filter held in place with a rubber band. This setup prevents contaminants while allowing air flow, necessary for the fermentation process.
Fermentation Duration
Place the jug in a dark, warm location, ideally between 60°F and 80°F (15°C to 27°C). Allow it to ferment for 3 to 6 weeks. Periodically taste the liquid to monitor the transformation. The longer it ferments, the stronger the flavor will become.
Final Steps
After reaching your desired flavor profile, strain the liquid through a fine mesh to remove any solids. Transfer the resulting product into clean bottles, sealing them tightly. Store in a cool, dark place to preserve its quality.
Regularly check on your creations. With time, the flavors will continue to develop, enhancing the final product. Enjoy the satisfaction of your homemade liquid in culinary applications or as a delightful addition to your pantry.
Monitoring the Fermentation Process
Check the temperature regularly. Ideal conditions hover around 60-80°F (15-27°C) for optimal microbial activity. A thermometer is a handy tool to ensure consistency.
Observe the surface. A healthy fermentation will produce bubbles and a foamy layer. If the liquid appears stagnant or you notice an off-putting smell, it may signal a problem.
Testing Acidity
Measuring acidity helps gauge progress. Use pH strips or a meter to track changes. Aim for a pH around 3.0 to 3.5, indicating successful transformation.
Time Management
Fermentation spans typically between 3 to 6 weeks. Regularly taste the liquid to assess flavor development. Be patient; flavor complexity enhances over time.
| Observation | Expected Result | Action |
|---|---|---|
| Temperature | 60-80°F (15-27°C) | Adjust if outside range |
| Bubbling/Foam | Active fermentation | No action needed |
| Off odor | Possible spoilage | Investigate further |
| pH level | 3.0-3.5 | Monitor and adjust as necessary |
| Taste | Complex flavor | Continue aging if desired |
Track these elements consistently for a successful outcome. Each step contributes to the overall quality of the end product, ensuring a flavorful result. Taking notes can be invaluable for future batches.
Flavoring Your White Wine Vinegar
To enhance the taste profile of your homemade acidity, consider infusing it with herbs, spices, or fruits. Begin by selecting a base flavor; fresh herbs like basil or thyme can add aromatic complexity. A handful of these herbs can be steeped in your creation for one to two weeks, allowing the flavors to meld.
Herbal Infusions
For a more earthy character, rosemary or sage works well. Simply add a few sprigs to the liquid and let them steep. Taste periodically to avoid overpowering the final product. Once satisfied with the infusion, strain out the solids to maintain clarity.
Citrus and Fruit Additions
Fruits like raspberries, peaches, or citrus peels can introduce a refreshing note. Slice or crush the fruits before adding them to the mixture, ensuring maximum flavor extraction. A couple of weeks of infusion should suffice; adjust according to personal preference for sweetness or tartness.
For a unique twist, consider combining multiple flavors. A blend of citrus zest and herbs can create a sophisticated taste that enhances salads and marinades. Keep a tasting log to document your experiments; this will help refine your approach in future batches.
Once you achieve the desired flavor, store your infused liquid in a cool, dark place to preserve its qualities. Label the containers with the infusion date and ingredients for reference.
Storing and Using Your Homemade Condiment
Once the fermentation process is complete, transfer your creation into dark glass bottles or jars to shield it from light, which can degrade flavor. Ensure containers are clean and sanitized to prevent any unwanted bacteria. Store in a cool, dark location, such as a cellar or pantry. Properly sealed, your concoction can last for up to a year, though its taste may evolve over time.
Utilization Tips
Incorporate your handcrafted liquid into dressings, marinades, or sauces to elevate dishes. A splash can enhance the flavor of stews or soups, and it works beautifully in pickling vegetables. Experiment with different proportions to find the balance that suits your palate. Always taste before using to ensure the flavors align with your culinary goals.
For those who enjoy crafting cocktails, it adds a unique twist to classic recipes. Consider using it in place of citrus for a different acidity profile. The versatility of your fermentation can inspire creativity in the kitchen and beyond.


