
Act quickly by blotting the affected area with a clean, dry cloth. Avoid rubbing, as this can spread the liquid deeper into the fibers. Next, sprinkle salt or baking soda directly onto the mark to absorb excess moisture. Allow it to sit for several minutes before gently brushing it off.
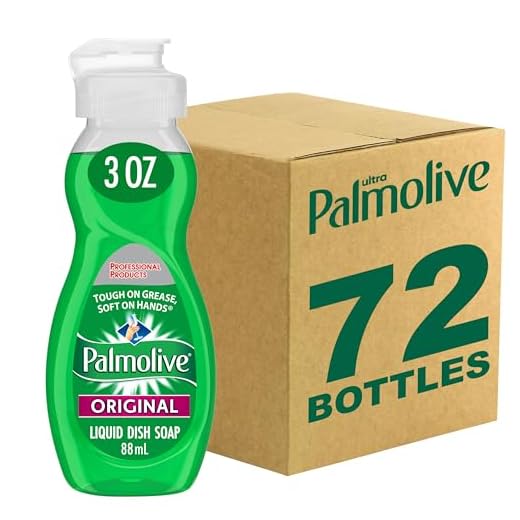
For a more thorough approach, create a paste using equal parts dish soap and hydrogen peroxide. Apply this mixture to the blemish and let it rest for about 30 minutes. Afterward, rinse with cold water and check if the discoloration persists. If needed, repeat the process or consider using a specialized fabric stain remover.
Always remember to test any cleaning solution on an inconspicuous area first to ensure it won’t damage the material. Launder the item as per the care label instructions after treatment, preferably in cold water, to help prevent any lingering traces of the incident.
Effective Techniques for Lifting Tough Marks
Begin with a solution of water and dish soap. Mix one part soap with two parts water. Apply this gently to the affected area using a clean cloth, working from the outside towards the center to prevent spreading. Blot frequently to lift the pigment.
Using Household Ingredients
A mixture of baking soda and water can also be beneficial. Create a paste and apply it directly onto the mark. Let it sit for about 30 minutes before rinsing with cold water. This method can help absorb any remaining residue.
Alternative Solutions
Another option is white vinegar combined with dish detergent. Use equal parts of each and apply it to the fabric. Allow it to sit for 10-15 minutes, then rinse thoroughly. Always test any solution on an inconspicuous area first to ensure fabric safety.
| Method | Ingredients | Application Time | Notes |
|---|---|---|---|
| Soap Solution | Water, Dish Soap | Immediate | Blot, do not rub |
| Baking Soda Paste | Baking Soda, Water | 30 minutes | Good for absorbing |
| Vinegar Mix | White Vinegar, Dish Detergent | 10-15 minutes | Test on hidden area first |
Assessing the Stain: Understanding the Fabric Type
Identify the material of the garment before taking any action. Different fibers react uniquely to cleaning methods, and knowing this can save you time and effort.
- Cotton: This natural fiber is generally more forgiving. Warm water and a mild detergent often work well.
- Wool: Use cool water and a gentle detergent specifically designed for wool. Avoid hot temperatures to prevent shrinking.
- Synthetic Fabrics: Polyester and nylon can tolerate more aggressive cleaning solutions, but always check the care label first.
- Silk: Handle with care; use cold water and a specialized silk detergent to prevent damage.
Always conduct a spot test on an inconspicuous area to ensure that the cleaning method won’t harm the fabric. For stubborn marks on stainless steel, consider using the best scrubber for stainless steel pans, as it can be effective for various surfaces.
By assessing the fabric type and applying the correct cleaning technique, you can achieve better outcomes without compromising the integrity of your favorite pieces.
Preparing the Stain: Tools and Ingredients Needed
Gather a few household items to tackle the challenge effectively. Start with white vinegar, a reliable option for neutralizing pigments. Baking soda serves as an excellent abrasive and absorbent. Hydrogen peroxide can brighten the fabric while acting as a stain lifter.
For application, a clean cloth or paper towel is necessary to blot the area without spreading. A soft-bristled brush can help work solutions into the fibers gently. Have a bowl or container ready for mixing ingredients, as well as warm water to rinse the treated area afterwards.
Consider using dish soap, preferably a clear variety, as it cuts through grease effectively and complements vinegar’s action. Lastly, a spray bottle allows for easy application of your mixtures, ensuring even coverage on the affected area.
Applying Stain Removers: Step-by-Step Techniques
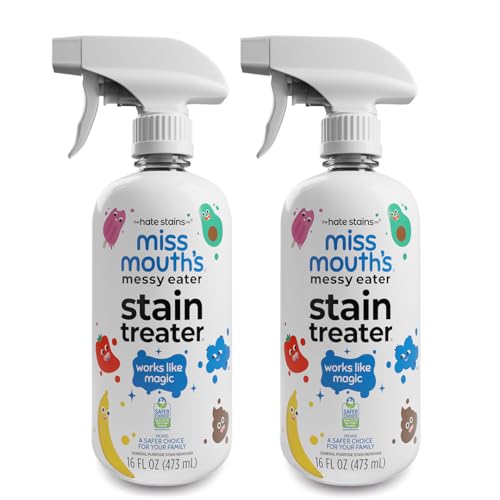
Begin with a clean cloth or paper towel to gently blot the affected area. Avoid rubbing, as this can spread the pigment further into the fibers. Use a specialized cleaner designed for the fabric type; these products are often more effective than general-purpose solutions.
Step 1: Pre-Treating the Area
Apply a small amount of the chosen stain-fighting formula directly onto the mark. Ensure the solution is evenly distributed, covering the entire spot. Allow it to sit for at least five to ten minutes to penetrate the material effectively.
Step 2: Agitating the Treatment
Using a soft-bristled toothbrush or a similar tool, gently agitate the solution into the fabric. This action helps lift the color particles. Focus on the edges of the mark first, working towards the center to minimize spreading.
After agitating, rinse the area with cold water to remove the cleaner and any dislodged residue. Repeat the pre-treatment and agitation process if necessary until the discoloration diminishes.
Once satisfied with the results, launder the item according to the fabric care instructions, using cold water. Always air dry the piece; heat from a dryer can set any remaining traces.
In case the blemish persists, consider repeating the pre-treatment process or seeking professional cleaning services for delicate fabrics.
Washing and Drying: Ensuring Complete Stain Removal
After addressing the discoloration, it’s crucial to proceed with washing the fabric. Use cold water for rinsing first, as hot water can set any remaining marks. Choose a high-quality detergent that targets tough blemishes. Pre-soak the item in a solution of water and detergent for about 30 minutes to enhance the cleaning process.
Washing Techniques
Always follow the care label instructions while washing. For machine washing, opt for a gentle cycle, avoiding agitation that could damage the fibers. If the item is delicate, consider hand washing with a mild detergent. Rinse thoroughly to ensure all cleaning agents are removed, as residue can attract dirt and lead to new discoloration.
Drying Considerations
Avoid using a dryer until you’re certain the blemish is entirely gone. Heat can make any remnants permanent. Instead, air dry the garment away from direct sunlight to prevent fading. If the mark persists post-wash, repeat the cleaning process before drying again. This will maximize the chances of complete elimination of any residual marks.
Preventing Future Stains: Tips for Wine Lovers
Always serve your favorite beverages in specific glassware designed for wine. These vessels not only elevate the experience but also help minimize spills. Invest in a spill-proof wine glass if you’re entertaining outdoors or have children around.
Choose the Right Attire
Select darker fabrics when enjoying a glass. Deep colors are less likely to show any accidental marks, offering a practical solution for the wine enthusiast. Additionally, consider wearing aprons or protective covers during gatherings to safeguard your garments.
Mindful Pouring Techniques
Practice controlled pouring to prevent drips. Hold the bottle at a slight angle and use a napkin or cloth to catch any excess liquid. This small habit can significantly reduce the chances of mishaps.
Keep a designated area for wine enjoyment. By creating a specific space, you can better control your surroundings and minimize the risk of accidents. Ensure that the area is well-lit and free from clutter.
Lastly, always have a cleaning kit on hand that includes club soda, white vinegar, and a microfiber cloth. Quick action can save your fabrics, and being prepared will give you peace of mind while you savor your wine experiences.


