

Act quickly by blotting the affected area with a clean, dry cloth. This helps absorb excess liquid, preventing deeper penetration into the fabric. Avoid rubbing, as this can spread the stain and damage the fibers.
Next, prepare a mixture of cold water and mild dish soap. Dampen a cloth with this solution and gently dab the stained spot, working from the outside in. Rinse the cloth frequently to avoid reapplying the stain. After treating, use a separate damp cloth to remove any soap residue.
If the mark persists, consider a solution of equal parts white vinegar and water, applied in the same manner. Rinse thoroughly and allow the area to air dry completely. For stubborn blemishes, a specialized upholstery cleaner may be necessary, following the manufacturer’s instructions closely.
Removing Stains from Upholstered Furniture
A quick approach involves blotting the affected area with a clean cloth to absorb excess liquid. Avoid rubbing, as it can spread the mark.
Next, prepare a solution using:
- One tablespoon of dish soap
- Two cups of cool water
- One tablespoon of white vinegar
Soak a clean cloth in the mixture, then gently dab the stain. Repeat this process until the discoloration fades. Rinse the area with a cloth dampened in plain water to eliminate any soapy residue.
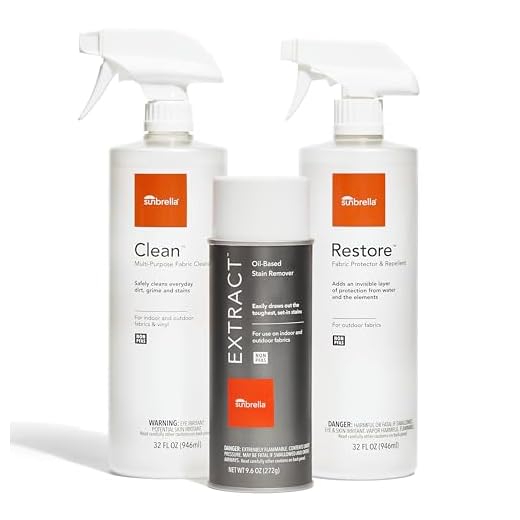
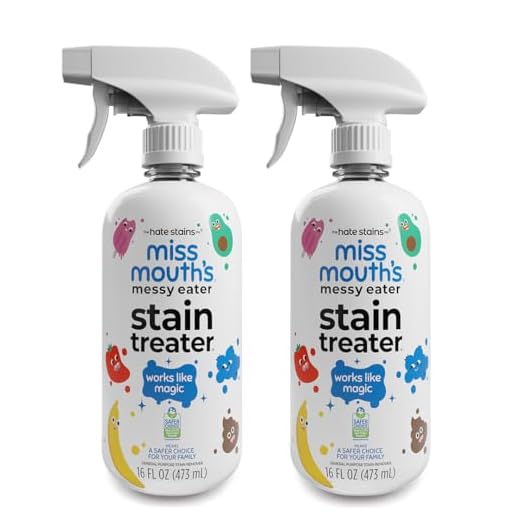
For persistent marks, consider applying a commercial upholstery cleaner designed for your fabric type. Always conduct a patch test in an inconspicuous area to ensure compatibility.
After treatment, allow the surface to air dry completely. If necessary, use a soft brush to restore the fabric’s texture.
In cases of stubborn stains, seeking professional cleaning services may be the best option to avoid damage.
Identify the Fabric Type of Your Couch
The first step is to check the care label attached to your upholstery. This label often indicates the type of material and recommended cleaning methods. Look for symbols that denote the fabric’s characteristics.
If the label is missing, determine the fabric by touch and appearance. For instance, cotton is soft and breathable, while synthetic fibers like polyester tend to be more durable and stain-resistant. Velvet has a distinct plush texture, and leather has a smooth, cool finish.
Conduct a water test on a hidden area. If the fabric absorbs water quickly, it’s likely a natural fiber. If it repels water, synthetic materials are more probable. Avoid aggressive scrubbing; instead, gently blot the area.
For delicate fabrics such as silk or linen, proceed with caution. These materials often require specialized care, so consulting a professional may be advisable if you’re unsure.
Once you identify the type, you can choose the appropriate cleaning method to address any spills effectively.
Blotting the Stain Immediately
Address the blemish as soon as it occurs. Grab a clean, dry cloth or paper towel and gently dab the affected area. Avoid rubbing, as this can spread the liquid and worsen the situation.
Apply light pressure to absorb as much as possible without pushing the pigment deeper into the fibers. Rotate the cloth frequently to utilize a clean section, ensuring maximum absorption.
Steps for Effective Blotting
| Step | Description |
|---|---|
| 1 | Use a clean, dry cloth or paper towel. |
| 2 | Gently dab the stain, applying light pressure. |
| 3 | Change to a clean area of the cloth to avoid spreading. |
| 4 | Continue until no more liquid is absorbed. |
For optimal results, aim to blot the stain within minutes of the incident. This quick action can significantly reduce the chances of a lasting mark.
Preparing a Cleaning Solution
Combine one cup of cold water with one tablespoon of dish soap and one tablespoon of white vinegar. Stir the mixture gently to avoid creating excessive bubbles.
For stubborn marks, consider adding a small amount of hydrogen peroxide to the solution. Test this on an inconspicuous area first to ensure it won’t damage the fabric.
Use a clean cloth or sponge to apply the solution to the stained area. Avoid soaking the fabric; a damp application is sufficient to lift the discoloration.
Always have fresh, clean water nearby to rinse the area after treating it. This will help remove any residue from the cleaning agents.
Applying the Cleaning Solution to the Stain
Gently apply the prepared mixture directly onto the affected area using a clean cloth or sponge. Ensure the fabric is adequately saturated but avoid over-soaking, which can lead to further damage. Work from the outside of the stain toward the center to prevent spreading. Use a light tapping motion rather than rubbing, which could push the liquid deeper into the fibers.
Let the solution sit for about five to ten minutes, allowing it to penetrate the fibers and break down the discoloration. Keep an eye on the fabric during this time; if you notice any adverse reactions, such as discoloration or damage, stop immediately.
After the solution has had time to act, take another clean cloth dampened with cold water and gently blot the area to remove the cleaning agent along with the loosened stain. Repeat this process, alternating between applying the solution and blotting with water, until the stain is no longer visible.
Finally, dry the treated area with a clean, dry cloth. Ensure it is left to air dry completely, as moisture can attract dirt and create new stains.
Rinsing and Drying the Affected Area
Immediately after treating the stain, rinse the affected area with cool water. Use a clean cloth or sponge to gently blot the area, ensuring that excess moisture is absorbed. Avoid rubbing, as this can further embed the residue into the fabric.
After rinsing, use a dry towel to blot the area again, absorbing as much liquid as possible. This step helps to prevent water rings and further discoloration. If available, a fan can be placed nearby to accelerate the drying process. Ensure the area remains well-ventilated to aid in drying and to minimize any lingering odors.
Once the spot is dry, inspect it for any remaining discoloration. If necessary, repeat the rinsing and drying procedure until the area is free of any marks. Allow sufficient time for the fabric to completely dry, as moisture can lead to mildew or other issues over time.
Preventing Future Stains on Your Couch
Invest in high-quality fabric protectors. Applying a protective spray designed for your specific upholstery type creates a barrier against spills and stains. Regular reapplication, as per the manufacturer’s instructions, enhances its effectiveness.
Consider using washable couch covers or throws. These can be easily removed and cleaned, providing a simple solution for unexpected mishaps. Choose colors and patterns that complement your interior design.
Establish a no-drink zone on your seating. Designate areas where food and beverages are not allowed. This proactive measure can significantly reduce the chances of stains occurring.
Regular Maintenance
Schedule routine cleaning sessions to keep your upholstery in top condition. Vacuuming removes dust and debris that can cause discoloration over time. Consider using a steam cleaner periodically to refresh the fabric without harsh chemicals.
Educate family members and guests about the importance of being cautious around the seating. Sharing tips on how to handle spills can foster a more careful environment.
Quick Response Strategy
Have a stain removal kit readily available. Include essential items: clean cloths, a gentle detergent, and a spray bottle with water. Quick access to these tools encourages immediate action, minimizing the risk of permanent damage.
Lastly, if you enjoy cooking, remember to explore different recipes, such as how to cook fajita veggies in a skillet. This can enhance your dining experience while keeping your living space stain-free.
FAQ:
What is the first step to take when red wine spills on a couch?
The first step is to act quickly. Blot the stain immediately with a clean cloth or paper towel to absorb as much wine as possible. Avoid rubbing, as this can spread the stain and push it deeper into the fabric. It’s important to gently dab the area instead, working from the outside of the stain toward the center to prevent it from spreading further.
Are there any home remedies for removing red wine stains from upholstery?
Yes, there are several home remedies that can be effective. A popular method is to mix equal parts of white vinegar and water, then apply it to the stained area using a cloth. Another option is to sprinkle baking soda on the stain after blotting it, which can help absorb the wine. After applying any solution, remember to blot the area again with a clean cloth to lift the stain. Always test any cleaning solution on a hidden area of the fabric first to ensure it doesn’t cause discoloration.
Can commercial stain removers be used on red wine stains?
Yes, many commercial stain removers are specifically designed to tackle tough stains, including red wine. Look for a product that is suitable for your couch’s fabric type, as some cleaners may not be safe for delicate materials. Follow the instructions on the label carefully, usually involving applying the cleaner, letting it sit for a specified time, and then blotting it with a clean cloth. It’s advisable to perform a patch test on a less visible area of the couch before applying it to the stain directly.
What if the red wine stain has already dried on my couch?
If the stain has dried, it may be more challenging to remove, but it’s still possible. Start by gently scraping off any residue with a dull knife or a spoon. Next, rehydrate the stain with a mixture of water and white vinegar or a specialized upholstery cleaner. Apply the solution and allow it to sit for a few minutes. Then, blot the area with a clean cloth. You may need to repeat this process several times for stubborn stains. If the stain persists, consider seeking professional cleaning services, as they have access to stronger cleaning agents and equipment.


