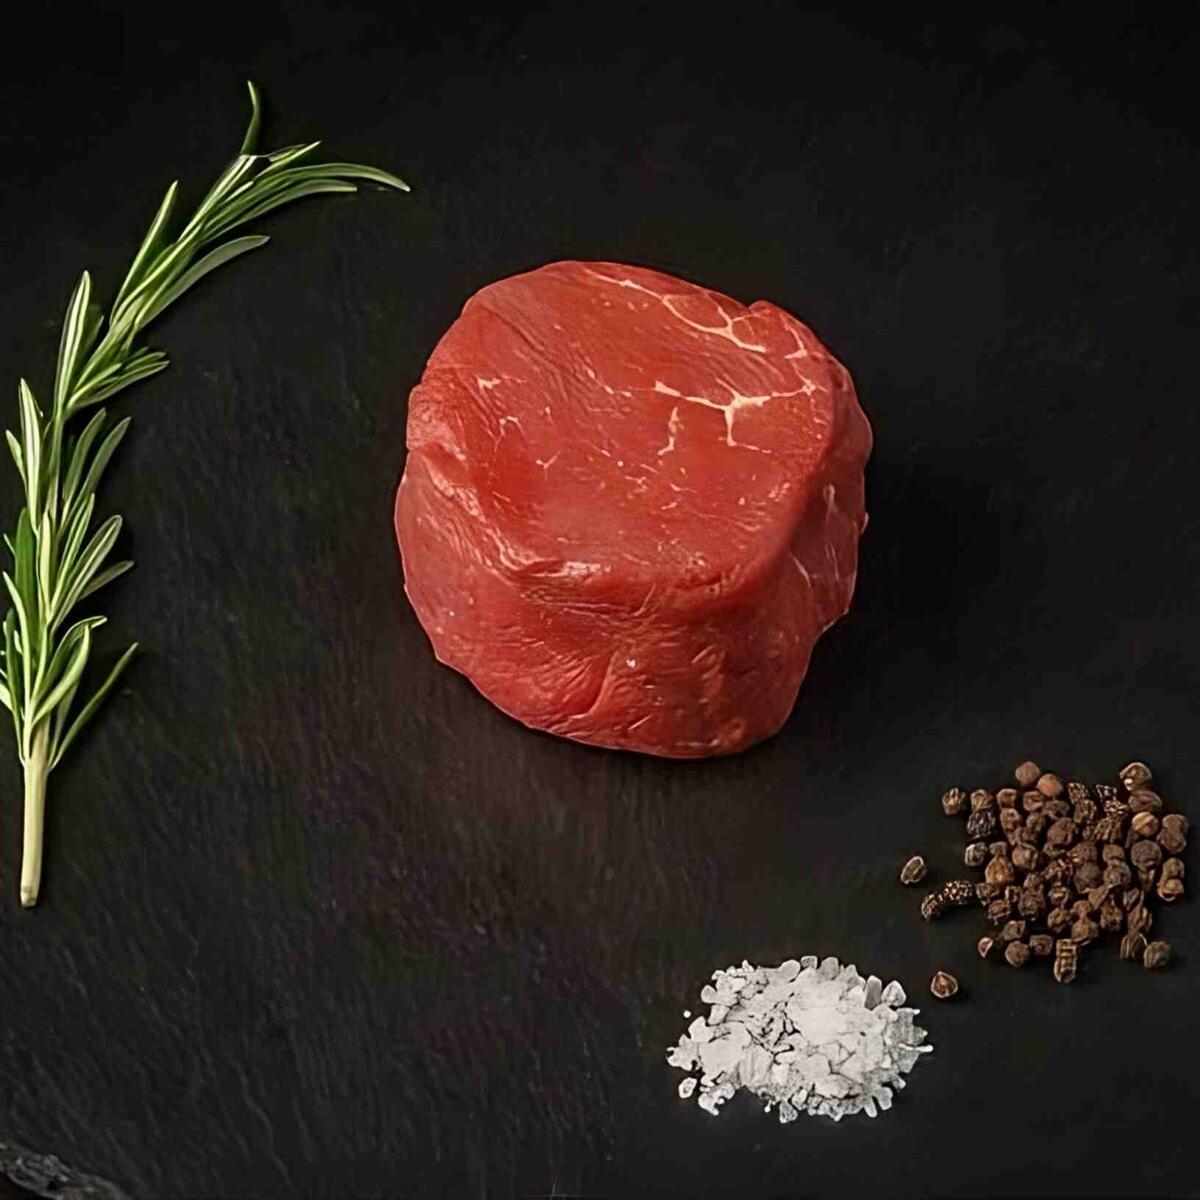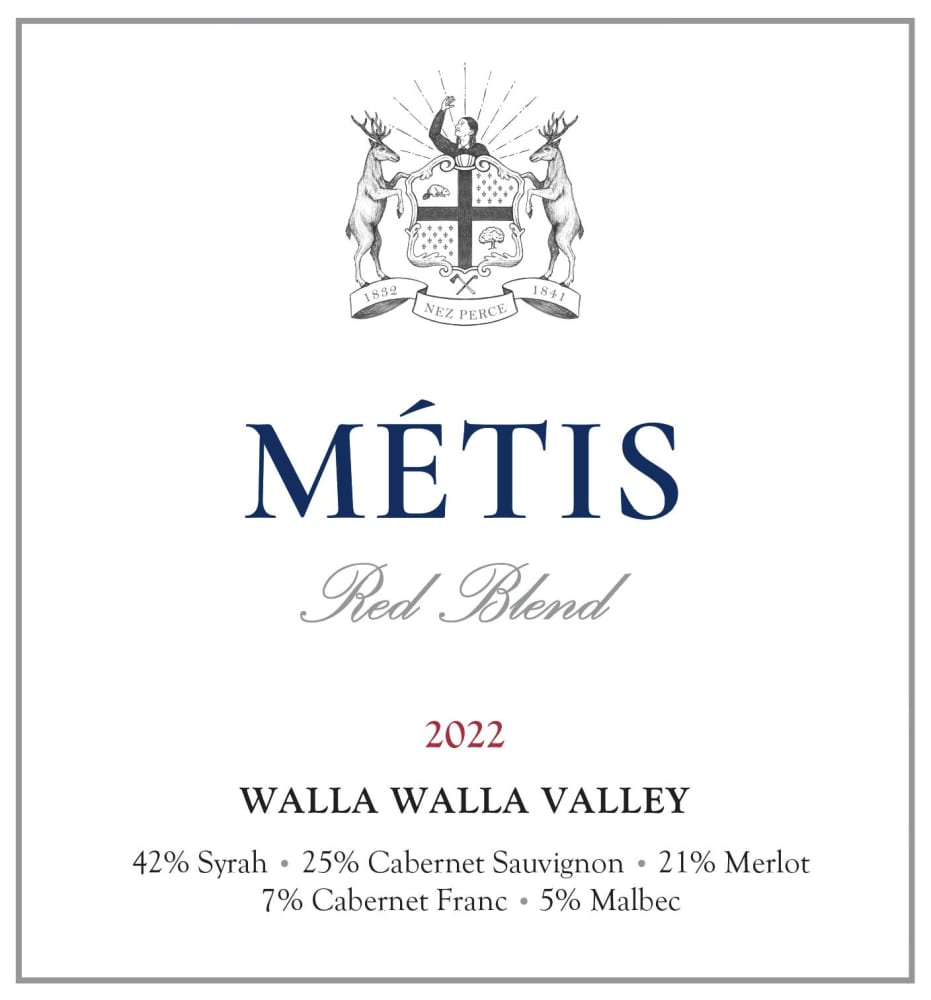


Choosing the right variety of dark berries is crucial. Look for those with a high acidity level and a good balance of sugar content. Varieties such as Grenache or Syrah tend to yield the best results, providing a rich flavor profile.
Begin by crushing the selected berries gently. This process allows the juice to mingle with the skins, which is essential for extracting color and flavor. Keep the skins in contact with the liquid for a shorter time–generally 6 to 24 hours–to achieve that desired pink hue.
After the initial maceration, strain the mixture to separate the juice from the solids. It’s important to press the remaining pulp lightly to extract additional liquid without overdoing it, which can lead to unwanted bitterness. Next, ferment the juice in a clean vessel, monitoring the temperature closely to maintain the ideal conditions for a smooth fermentation process.
Once fermentation is complete, aging the beverage in stainless steel or neutral oak barrels can enhance its complexity. This step is optional, but it can add depth to the flavor profile. Finally, after a suitable aging period, bottle the liquid and allow it to rest before indulging in the refreshing results of your efforts.
Selecting the Right Red Grape Variety
For achieving a delightful pink hue and harmonious flavor profile, I focus on varieties known for their balance of acidity and fruitiness. Grenache stands out due to its bright red fruit notes and moderate tannins, which contribute to a refreshing finish. Syrah, with its bold character, offers depth and complexity, enhancing the overall experience.
Considerations for Flavor and Aroma
Cabernet Sauvignon provides rich berry flavors, but I prefer to use it sparingly to avoid overwhelming the blend. Merlot is another excellent choice, as its softer tannins and juicy profile create a smooth mouthfeel. Additionally, Pinot Noir is prized for its aromatic qualities and elegance, making it a favorite for lighter styles.
Growing Conditions and Ripeness
Choosing grapes from regions with optimal growing conditions is key. I pay attention to the climate, as warmer areas typically yield fruit with higher sugar levels, resulting in a fuller-bodied result. Harvesting at the right moment ensures the grapes maintain their acidity while achieving the desired sweetness, which is critical for balance.
Preparing the Grapes for Fermentation
Careful handling of the fruit is pivotal. Begin with a thorough inspection. Remove any damaged or rotten specimens. This ensures only the best quality is used, preventing off-flavors during the process.
Next, rinse the selected fruit under cool, running water. This step eliminates surface dirt and potential pesticide residues. After rinsing, gently pat them dry using a clean cloth.
Crushing follows. Employ a grape crusher or a similar tool to break the skin without overly mashing the pulp. The goal is to release the juice while keeping the seeds intact, as they can impart bitterness.
Post-crushing, check the sugar levels. Utilize a refractometer for accurate readings. Adjustments can be made if necessary, using sugar or concentrated grape juice, depending on your desired sweetness.
Before fermentation, it’s beneficial to chill the crushed material slightly. This process helps to preserve delicate aromas and enhances flavor extraction during fermentation.
Finally, transfer the prepared mixture into a fermentation vessel. Ensure it’s sanitized to avoid unwanted microbial growth. A clean environment supports the development of desirable characteristics during fermentation.
- Inspect and remove damaged fruit.
- Rinse gently with cool water.
- Crush carefully to release juice.
- Check and adjust sugar levels.
- Chill the mixture slightly before fermentation.
- Use a sanitized fermentation vessel.
Crushing and Pressing Techniques for Fine Rosé
Utilizing a gentle approach is key. I prefer to hand-crush the berries to minimize skin contact, which helps control the extraction of color and tannins. If using a mechanical crusher, setting it to a low speed prevents excessive crushing of the seeds, reducing bitterness.
After crushing, I aim for a quick pressing. Utilizing a pneumatic press allows for a soft extraction, preserving delicate aromas while extracting only a light hue. I ensure that the press is adjusted for a low pressure to avoid over-extraction of phenolics.
Timing is crucial during this phase. I press the juice shortly after crushing, ideally within a few hours, to maintain freshness and vibrancy. The juice is then separated from the skins quickly to retain the desired pale color and aromatic profile.
I also monitor the pressing duration closely. A short pressing cycle of 1 to 2 hours is typically sufficient for achieving the right balance of flavor and color, ensuring that the final product remains crisp and refreshing.
Finally, I collect the free-run juice separately from the pressed juice, as it tends to have a more refined character. This allows for blending later, helping to achieve the final product’s complexity and depth.
Controlling fermentation temperature and duration
Maintaining a consistent temperature during fermentation is key for achieving desired characteristics in the final product. I typically aim for a range between 12°C and 18°C (54°F to 65°F). This cooler range aids in preserving the aromatic compounds, resulting in a more fragrant beverage.
Here are specific temperature guidelines:
- 12°C to 14°C (54°F to 57°F) for delicate floral notes.
- 15°C to 17°C (59°F to 63°F) for fruit-forward styles.
- 18°C (65°F) for more robust flavors.
Duration of fermentation also plays a significant role. I generally allow fermentation to last between 10 to 20 days, depending on the desired complexity. Monitoring brix levels helps determine the right timing:
- Lower brix levels may indicate earlier completion.
- Higher brix can suggest a need for extended fermentation.
Using temperature control systems, such as glycol jackets or temperature-controlled fermentation tanks, can significantly enhance consistency. I find that maintaining these parameters ensures a more balanced and flavorful end product.
Regular sampling throughout the process is essential. This allows me to assess the development of flavors and aromas, making adjustments as necessary. Keeping notes on each batch helps refine future efforts.
Clarifying and Stabilizing the Beverage
To achieve clarity and stability, I first focus on racking the liquid off the sediment after fermentation. This process involves transferring the clear liquid into another container, leaving the lees behind. I make sure to do this gently to avoid disturbing the sediment.
I then consider using fining agents such as bentonite or isinglass, which help to bind and precipitate unwanted particles. It’s crucial to follow the manufacturer’s guidelines for dosage, as too much can negatively impact flavor and aroma.
Once fining agents are added, I allow the mixture to rest for a few days to a week. During this time, I monitor the clarity. If necessary, I can repeat racking to further clear the liquid.
Stabilization is the next step. I add potassium sorbate and sodium metabisulfite to prevent any unwanted fermentation in the bottle. It’s essential to dissolve these agents completely before incorporation to ensure even distribution.
I also consider cold stabilization, where I chill the liquid to near freezing temperatures for several days. This process helps precipitate tartrate crystals, which can form in the bottle later if not addressed early.
After these steps, I let the beverage rest for a few weeks to ensure that any added agents have worked effectively. I regularly check for clarity and stability before proceeding to bottling, ensuring a refined and polished final product.
Bottling and Aging of Rosé from Dark Varieties
For optimal results, I recommend bottling shortly after stabilization to maintain freshness. Use clean, sterilized bottles and corks to prevent contamination. Fill the bottles, leaving about an inch of space at the top, then cork them securely.
Aging Techniques
For maturation, store the bottles horizontally in a cool, dark place with a stable temperature between 50°F to 55°F (10°C to 13°C). This method allows the cork to stay moist, preventing air ingress. Aging for 3 to 6 months is typical, but experimenting with longer periods can yield interesting flavor profiles.
Monitoring Development
Regularly taste the product during the aging process. Look for changes in acidity, aroma, and overall balance. If I notice any off-flavors, transferring to a different container might be necessary to mitigate oxidation.
| Aspect | Recommendation |
|---|---|
| Bottling | Immediately after stabilization |
| Storage Temperature | 50°F to 55°F (10°C to 13°C) |
| Age Duration | 3 to 6 months |
| Tasting Frequency | Monthly |
After aging, I recommend letting the bottles rest upright for a few days before serving to allow any sediment to settle. This ensures a clearer pour and enhances the tasting experience.