
Start with a high-quality bottle of dry white grape liquid, ensuring it has no added sulfites. Pour the contents into a clean glass container, allowing for ample air exposure. This step promotes the natural fermentation process.
Introduce a mother of vinegar, which can be purchased from stores or sourced from previous batches. This culture of acetic acid bacteria is essential for the transformation process, converting alcohol into the desired acidity.
Cover the container with a breathable cloth or coffee filter, securing it with a rubber band to keep out contaminants while allowing airflow. Place the vessel in a warm, dark location, ideally around 60-80°F (15-27°C), and let it sit undisturbed for several weeks. Taste periodically to monitor the development of flavor.
Once the desired tanginess is achieved, strain the liquid to remove any sediment and transfer it into sterilized bottles. Seal tightly and store in a cool, dark place. Enjoy the rewards of this homemade acidity enhancer in various culinary applications.
Selecting the Right White Wine for Vinegar
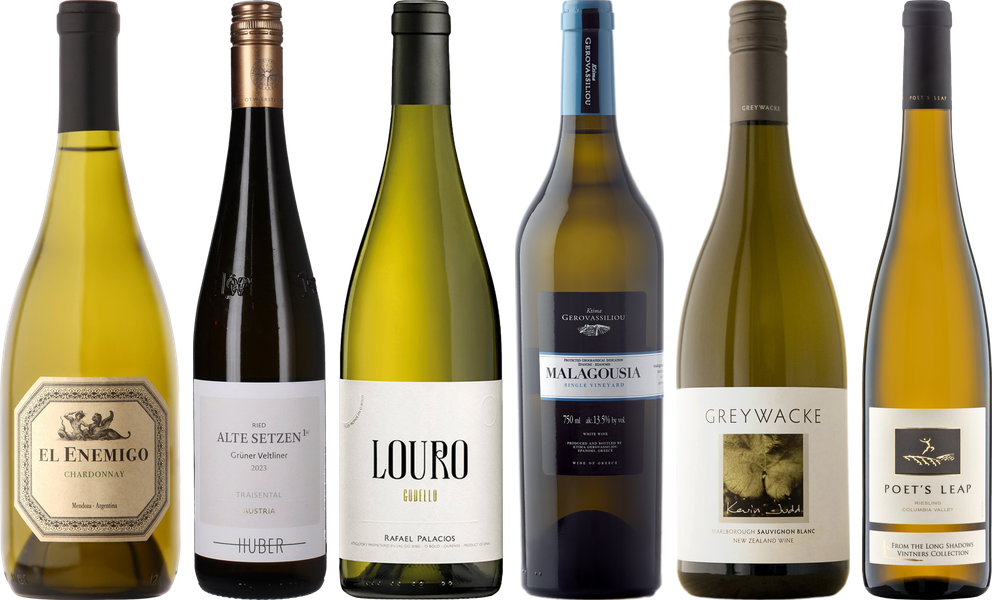
Opt for dry varieties with balanced acidity. Sauvignon Blanc and Pinot Grigio are excellent choices due to their crispness and refreshing qualities. Avoid sweet wines; they can lead to overly sugary results.
Consider the flavor profile. A wine with bright citrus notes or herbal undertones enhances the finished product’s complexity. For instance, a Sauvignon Blanc contributes zesty lemon flavors, while an unoaked Chardonnay offers a buttery richness.
Evaluate the origin. Wines from cooler climates tend to have higher acidity, which is beneficial for fermentation. Regions like Marlborough in New Zealand or the Loire Valley in France produce superb candidates.
Examine the price point. Quality does not always correlate with high prices. There are many affordable options that deliver exceptional flavor. Look for bottles in the $10-$15 range, focusing on lesser-known producers for great value.
| Wine Type | Flavor Profile | Acidity Level | Price Range |
|---|---|---|---|
| Sauvignon Blanc | Citrus, herbal | High | $10-$15 |
| Pinot Grigio | Light, floral | Medium | $10-$15 |
| Chardonnay (unoaked) | Buttery, clean | Medium | $10-$15 |
Be mindful of the vintage. Younger wines generally yield better acidity and freshness, crucial for the fermentation process. Aim for bottles that are no older than three years.
Lastly, trust your palate. Sampling a few options before deciding will guide you toward the ideal selection. The right choice will significantly impact the final flavor and quality of the fermented product.
Gathering Necessary Equipment and Ingredients
Begin with a clean glass container for fermentation, ideally a wide-mouth jar or a ceramic crock. This ensures adequate airflow, which is crucial for the conversion process. A 1 to 2-gallon size works well for home projects.
A wooden or plastic stirring utensil is needed to mix ingredients without affecting the flavor. Avoid metal utensils, as they can react with the acid.
For the liquid base, select a quality fermented beverage. Look for one that has a balanced acidity to enhance the final product. A minimum of 3 cups will suffice for a small batch.
Other Required Ingredients
In addition to the fermented drink, a source of live cultures is necessary. Purchase a bottle of unpasteurized vinegar containing the “mother” or obtain a starter culture from a previous batch. This culture contains beneficial bacteria essential for fermentation.
Consider adding flavoring agents such as herbs or spices. Fresh herbs like rosemary or thyme can introduce unique notes. Use them sparingly to avoid overpowering the final flavor profile.
Ensure to have a breathable cover, such as cheesecloth or a coffee filter, along with a rubber band to secure it. This allows air circulation while preventing contaminants from entering.
Lastly, a thermometer can help monitor the temperature during fermentation, ideally between 60°F and 80°F, to maintain an optimal environment for the cultures.
With all equipment and ingredients assembled, the fermentation process can begin, leading to a flavorful acidic elixir. Enjoy the experience of crafting this culinary staple!
Fermentation Process: Steps to Follow
Begin the fermentation by combining the selected liquid with a vinegar mother or unpasteurized vinegar. This culture contains acetic acid bacteria essential for converting alcohol into acetic acid.
Ensure the mixture is placed in a clean glass or ceramic container, avoiding metal or plastic, which can interfere with the fermentation process. Cover the top with cheesecloth or a breathable material to allow air circulation while preventing contaminants.
Monitoring the Process
Keep the container in a warm, dark place with a stable temperature, ideally between 60°F to 80°F (15°C to 27°C). Check the mixture every few days for signs of fermentation, such as bubbling or a change in smell. Stir gently every week to introduce oxygen, which aids the bacterial activity.
Completion and Taste Testing
After several weeks, taste the product to assess acidity levels. The transformation can take anywhere from three weeks to several months, depending on environmental conditions and personal preference. Once the desired acidity is achieved, strain out any solids and transfer the liquid into a clean bottle for storage.
Monitoring Acidity Levels During Fermentation
Regularly checking acidity is critical throughout the fermentation phase. Utilize a pH meter or pH test strips to gauge the acidity levels, aiming for a range between 2.8 and 3.4. This range ensures a balanced flavor profile while inhibiting unwanted bacterial growth.
Frequency of Testing
Conduct tests every few days. This frequency allows for timely adjustments if the acidity deviates from the desired range. If levels rise too high, consider introducing a small amount of distilled water to bring them down. Conversely, if acidity is low, incorporating a small amount of vinegar can help elevate the levels.
Adjusting Acidity
When adjustments are necessary, do so gradually. Altering acidity too quickly can shock the fermentation process. After any modification, allow a period of rest before retesting to ensure the changes have taken effect. Ensure to document each reading and adjustment made for future reference.
Storage Tips for Homemade White Wine Vinegar
Optimal conditions for keeping your homemade acidic solution are crucial for maintaining its flavor and quality. Here are key tips to ensure longevity:
- Choose a dark, cool place, away from sunlight. Heat and light can degrade the flavor profile.
- Use glass or food-grade plastic containers. Avoid metal, as it may react with the acidity and alter the taste.
- Seal containers tightly, but allow for some airflow. This prevents contamination while preserving the necessary microorganisms.
Monitor the environment regularly. A stable temperature, ideally between 50°F and 70°F, is ideal. Fluctuations can affect fermentation and flavor.
Label your containers with the date of creation and type of ingredients used. This helps track aging and quality over time.
For enhanced versatility in the kitchen, try incorporating this vinegar in various recipes, such as salad dressings or marinades. For a quick meal, check out this guide on how to cook a baked potato fast.
Using these storage guidelines, your homemade acidic concoction will remain fresh and flavorful for months to come.
Using White Wine Vinegar in Culinary Applications
Incorporate this tangy liquid into salad dressings to elevate flavors. A simple vinaigrette can be crafted by mixing a ratio of three parts oil to one part vinegar, adding mustard and herbs for depth.
Marinades benefit immensely from this acidic component, tenderizing proteins while infusing them with a zesty profile. Combine with garlic, soy sauce, or citrus juices for a well-rounded mixture perfect for chicken or fish.
Utilize it in deglazing pans after sautéing meats. Pour a splash to lift the fond from the bottom, creating a robust sauce that complements the dish. This technique enhances the dish’s overall complexity.
Incorporate into pickling recipes for vegetables to add a refreshing taste. The acidity acts as a preservative while providing a delightful crunch and flavor. Experiment with different spices to customize the pickling brine.
For soups and stews, a dash of this vinegar can brighten flavors and balance richness. Stir in towards the end of cooking to maintain its vibrant character.
In baking, use as a leavening agent when combined with baking soda. This reaction can add a subtle tang to cakes and muffins. Adjust sugar levels accordingly to keep the balance.
When preparing sauces, a splash can enhance the final dish, adding depth to cream-based sauces or tomato sauces. This addition can transform a standard recipe into something extraordinary.
Finally, consider it in beverages. A few drops in cocktails can provide an unexpected twist, harmonizing flavors and adding a sophisticated edge to drinks.